

More than often I need to call the Azure RM REST API to perform a variety of thing. Pretty much the only way you'll find to do it on the Internet in PowerShell is to authenticate a second time against the REST API to obtain a bearer token. I always thought that there must be another way because of there is a TokenCache... There it is... Here's a recipe that I have now included in my own PowerShell user profile that make obtaining an AccessToken from an authenticated Azure session a piece of cake...
Updated on 2019-01-14
Added support for both AzureRM & Az modules.
Updated on 2018-01-31
Tested code with AzureRM.Profile module v4.x.
Setup information
There is a very complex matrix of Windows/Azure PowerShell/Visual Studio versions out there, I cannot guarantee 100% this will work on your system but it should if you are not to far behind with Azure PowerShell. Here is what my system look like:
Az modules
- Windows 10 Version 1703
- PowerShell core 6.1.0
- Az.Accounts Version 1.x
- Visual Studio 2015/2017
AzureRM modules
- Windows 10 Version 1703
- PowerShell Version 5.1.15063.296
- AzureRM.Profile Version 2.x up tp 4.x
- Visual Studio 2015/2017
The complicated ways you'll find everywhere
What you'll see on the Internet as a solution for this is creating an Application in your AAD with a ServicePrincipal, then use the ServicePrincipal credentials to obtain the AccessToken. Then problem is that this is very dependant on what RBAC permissions you give to your application, this is not what I really want, manage another entity permission just to get AccessTokens.
You also have a version that'll use the well-known PowerShell clientId & redirectUrl, preventing you from creating a new app in Azure AD but you'll still need to provide a username & password or clientId/password
# Set well-known client ID for Azure PowerShell
$clientId = "1950a258-227b-4e31-a9cf-717495945fc2"

# Set redirect URI for Azure PowerShell
$redirectUri = "urn:ietf:wg:oauth:2.0:oob"
Better, but again, I still need to provide credentials to make it work.
An easier way to obtain your AccessToken
I have included this little function in my PowerShell user profile
$Home\[My ]Documents\WindowsPowerShell\Profile.ps1
function Get-AzureRmCachedAccessToken()
{
  $ErrorActionPreference = 'Stop'

  if(-not (Get-Module AzureRm.Profile)) {
    Import-Module AzureRm.Profile
  }
  $azureRmProfileModuleVersion = (Get-Module AzureRm.Profile).Version

  ...

  $currentAzureContext = Get-AzureRmContext

  ...

  Write-Debug ("Getting access token for tenant" + $currentAzureContext.Subscription.TenantId)
  $token = $profileClient.AcquireAccessToken($currentAzureContext.Subscription.TenantId)
  $token.AccessToken
}
You can download the full version (for free) on Microsoft Script Center
What this code do is that it will use your session instance profile and use the TokenCache under the hood and return you an access token without having to authentication a second time.
From there, simply call the function and pipe it in the clip.exe utility to put the AccessToken in Windows clipboard.
# Considering you have previously called
# Add-AzureRmAccount || Login-AzureRmAccount

('Bearer {0}' -f (Get-AzureRmCachedAccessToken)) | Set-Clipboard
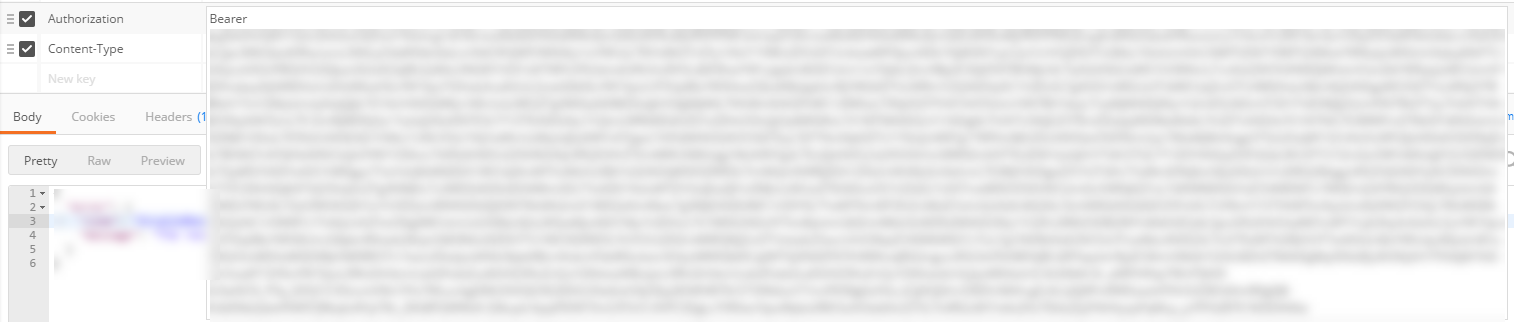
With this value in the clipboard I can now go in Postman, create a Header with the key Authorization and paste the value from the clipboard.
If you use
clip.exeinstead ofSet-Clipboardyou'll end up with an unwanted carriage return at the end of your token when pasting, hit the backspace key 1 time in order to remove it.
I then have something like this in Postman
Conclusion
If you use the Azure RM REST API from time to time, this will likely change your life for the better ;)